CAD Refresher
In this week's lesson, we made the keychain design similar to what we did last semester as a refresher course. I will be documenting and explaining every step in creating this keychain in this blog.

1. The first step is to create a sketch using the rectangle tool with the dimensions, 65mm by 25mm.
2. Next, create a 2mm offset using the offset tool.

3. Use the fillet tool with 5mm radius and click on all 4 corners to get the rounded corners.

4. Draw a vertical line across the rectangle using the line tool, right click the line and click on normal/construction.

5. Use the dimension tool and click on the line drawn in step 4 and the left side of the rectangle to create a 7mm distance in between.

6. Using point tool in create sketch, create a point at the middle of the line.
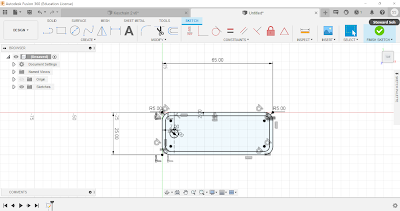
7. Using the circle tool, create a 5mm circle at the point drawn in step 6.

8. Using the create text tool, type your name, use impact as the font type and adjust your name to fit the rectangle.

9. Click finish sketch, then extrude the keychain without the circle created in step 7 by 3mm.


11. Hide the sketch and change the appearance of the keychain to your preference. So, this is the final product.
Here's the embedded file of the keychain:
Reflection
In this lesson, we were tasked to create keyring with the help of a youtube video. This refresher video allowed me to recall what we learnt last semester. I enjoyed designing this keychain on fusion360 as it gives me more experience, and I think it will be really fun to design anything I want on fusion360. I feel that these basic fusion360 skills that I have learnt will be very useful for future projects.
The CAD refresher also makes me gain more interest in fusion360, because it made me realize fusion360 can create a lot of different models and I can use it to construct some of my ideas. Moreover, there are many more functions available, I am keen to learn more about these functions and tools so that I can make full use of this software. Overall, this is a very good refresher course for the start of the semester.
I used to dislike fusion360 because it was not fun to use. Now I am getting used to how it works and I am start to get interested. So next I will try to learn more about fusion360.
Handphone Stand
The individual work for this week is to create a handphone stand on fusion360 using parametric. I have thought of many different designs and I chose a stickman design in the end. I took inspiration from an actual product that I saw online. However, there were no tutorials or steps shown on how to create it. So, I decided to create it myself.
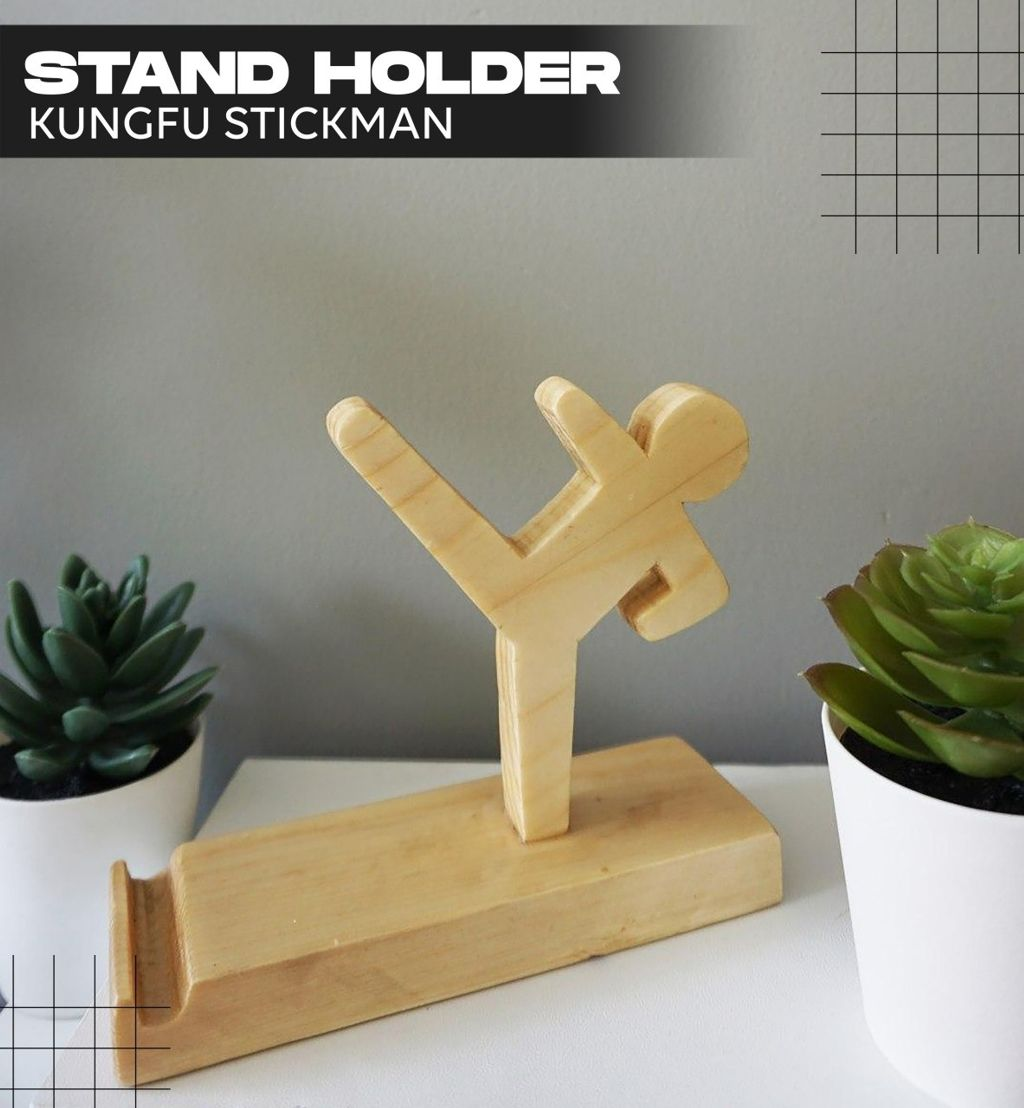
This is the product that I will try to recreate. I have tried making this on another file to figure out roughly what the dimensions are. I have also watched other youtube videos to learn more functions about fusion360 which will help me in creating this handphone stand.


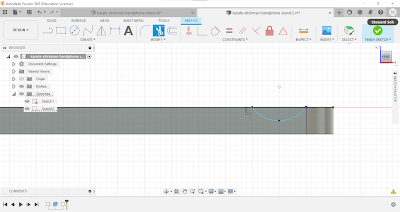


Here's the Embedded file of the handphone stand:
Reflection
In general, we were introduced to laser cutting in this lesson. We are also tasked to create a handphone stand individually. I chose the Kungfu Stickman handphone stand. The handphone stand with the best design will get their design printed over the holidays, I hope that my design will win as it serves its function and is also aesthetic. The next task is to be done as a group, we will be creating parametric construction kit that can be assembled in multiple ways.
This task will expand my knowledge on fusion360, and also allows me to get comfortable using it. I have learnt a few more functions that I never knew about. Some of these functions have made my life easier. This task is interesting because it allows us to use our creativity to create a phone stand. I have thought of many different designs for this phone stand.
I used to think that fusion360 is really hard to use when creating certain shapes. However, I think it is because I was unfamiliar with the functions that fusion360 have and I do not know how to make full use of it. Through this task, I really enjoyed the process of making this handphone stand mainly because I get to understand more about fusion360. Although it could be frustrating sometimes, I believe it is part of the learning process. So in future, I will try to learn more about the different functions that fusion360 offer so that I can make good use of it in my teams chemical product.
References
AlopezEDU (2019) Create a Keychain in Fusion 360 [online video] Available at: <https://www.youtube.com/watch?v=y2yezZKNiOo> [Accessed 21 October 2021]
Toko.ly. 2021. Stand Holder Kayu Karakter Kungfu Stickman | Finestore. [online] Available at: <https://toko.ly/finestore/products/4334133/stand-holder-kayu-karakter-kungfu-stickman> [Accessed 27 October 2021].
Comments
Post a Comment